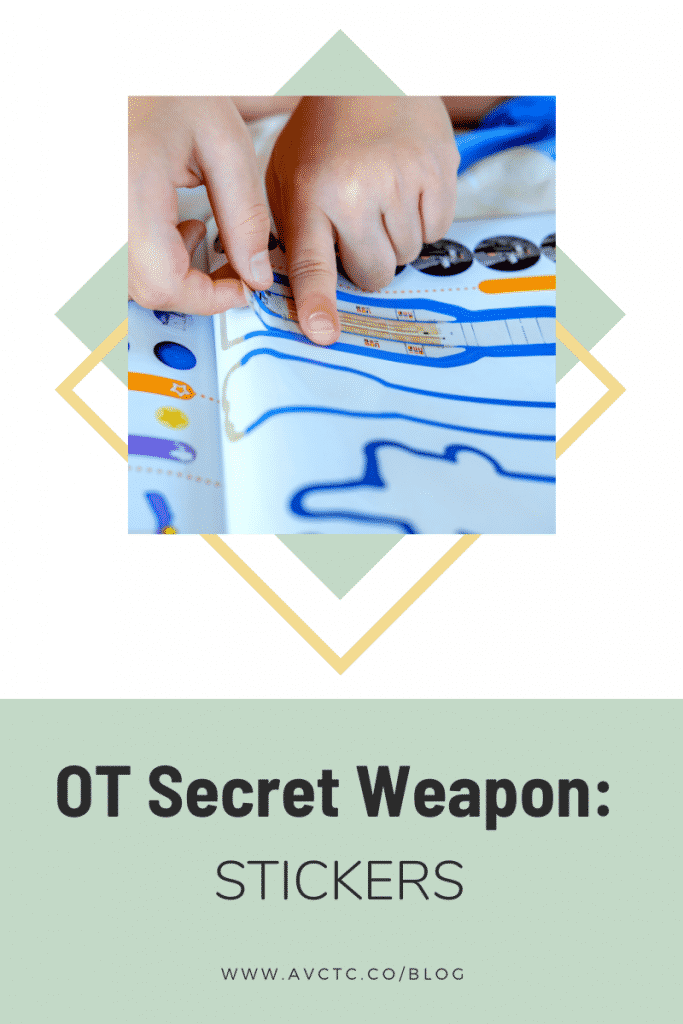
When I first became an Occupational Therapist working in the school systems some of my colleagues introduced me to the world “dollar store therapy” (I think I just made that name up). I had, of course, previously shopped in the dollar store but I had never recognized how many wonderful affordable tools were available for the purpose of supporting development. The reality is, it is not about what the dollar store has it is just simply because learning and development can occur using some of the most basic items – fancy toys are not necessary.
During my first OT position I had the luxury of spending some time shadowing an incredible therapist. When I was ready to start seeing students on my own, she gifted me “an OT tool kit” from the dollar store. This included tongs, squeeze bottles, beads, Tupperware containers, rubber bands, and of course – STICKERS! There is something about a sticker that motivates children to participate (and I don’t mean in the sticker chart reward sense). And, little do they know, they are simultaneously working on so many skills!
In order to not reinvent the wheel, I am going to point you to some great blog posts that exist on the topic.
The OT Tool Box has a great blog that shares with its readers what skills can be targeted using stickers. The cliff notes version is that with just using stickers you can support your child in the following areas: grasp, bilateral hand coordination, visual scanning, spatial awareness, sensory exploration, handedness, separation of the two sides of the hands, hand strength, body awareness, and gross motor development.
Now that you know why playing with stickers is so beneficial here are two great blogs with ideas on HOW to play with stickers. The OT School House and The Inspired Treehouse both have a bunch of creative ideas that are so easy to do and don’t require much more than the stickers.
Finally, I wanted to leave you with one of my favorite ways to incorporate stickers:
Materials-
- Paper or small white board
- (White Board) Marker
- Stickers
First draw small circles on either side of the paper or white board that are about the size of your stickers.
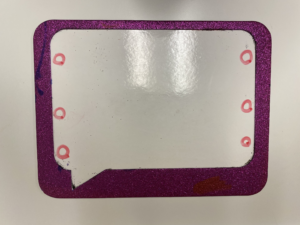
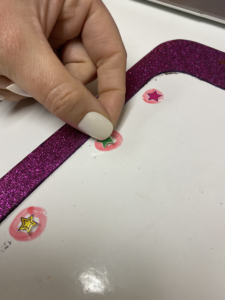
Next allow your child to place the stickers inside the circles. This is a great fine motor and visual perception task. You will want to have them put a matching one of each color/shape on each side (notice there is a pink, yellow and green sticker on each side in different position). The matching color/shape should not be across from one another unless your child is just working on horizontal lines.
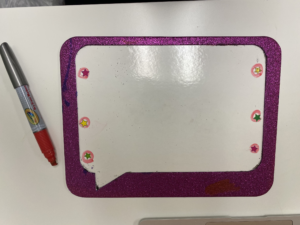
Finally have your child draw lines connecting the stickers that match.
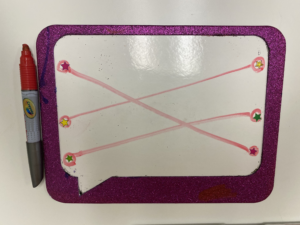
Simple as that!
We’d love to hear your favorite way to incorporate stickers in play.


